Alfresco 4.2.b Installation Tutorial on Windows
For alfresco installation process on Linux and Windows are the same.
Here's a screenshot of the installation process on Windows Alfresco 4.2 b:
1. Language selection

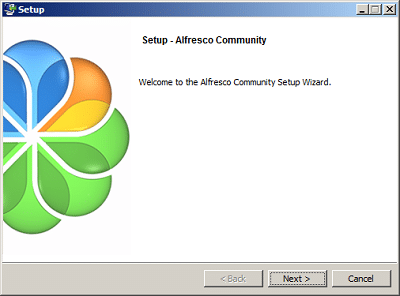
2. Alfresco Community Setup
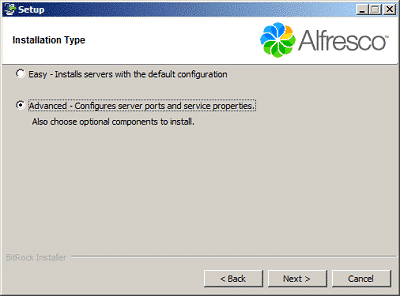
3. Installation type Chose Advance-Configures server ports and services properties
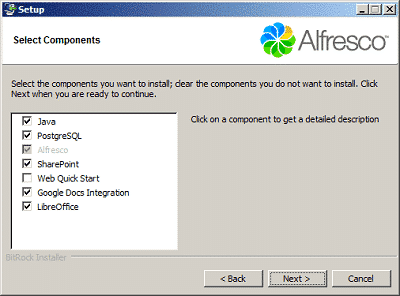
4. Select the application
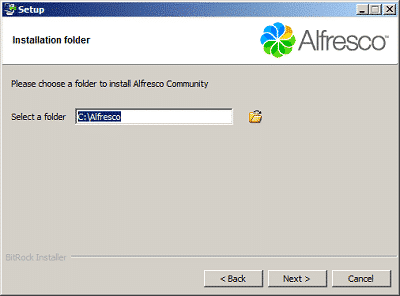
5. Select where to save the patch to be installed alfresco folder
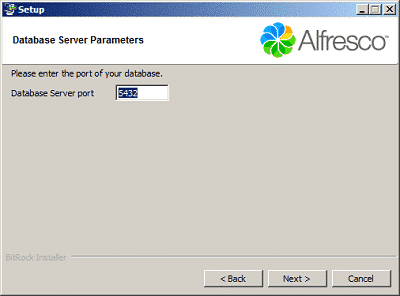
6. Enter port for the database server
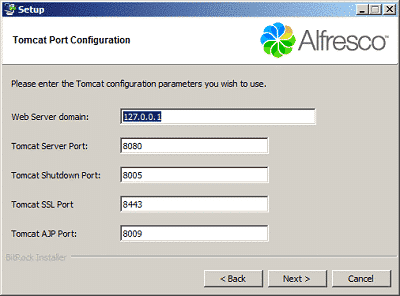
7. Enter the IP address and port for tomcat The example below is the ip address for localhost
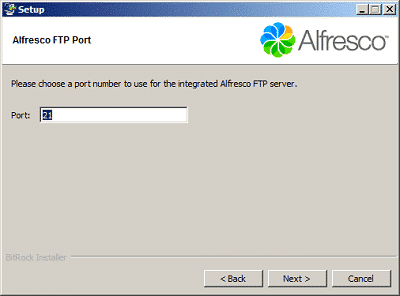
8. Enter port for the FTP server

9. Enter port for remote commands
10. Enter the password for the application Alfresco
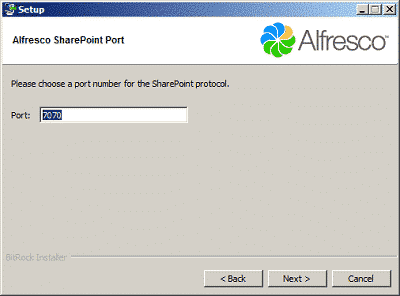
11. Enter port for SharePoint
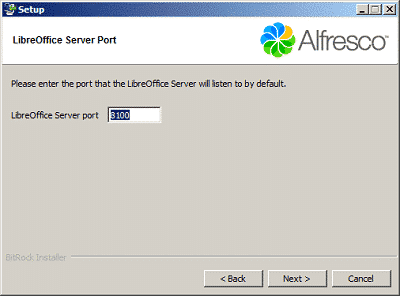
12. Enter port for LibreOffice
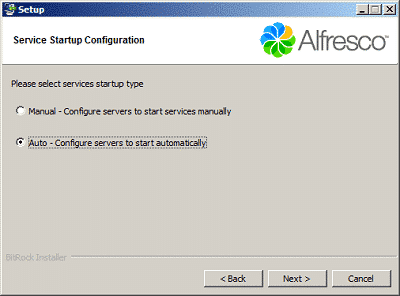
13. Select the type of configuration to the startup tomcat and database
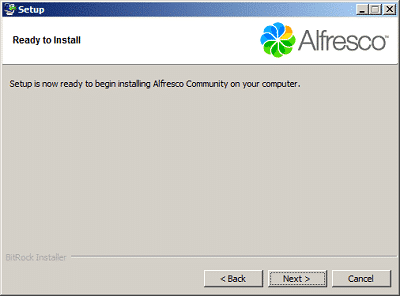
14. Preparation for installation of Alfresco
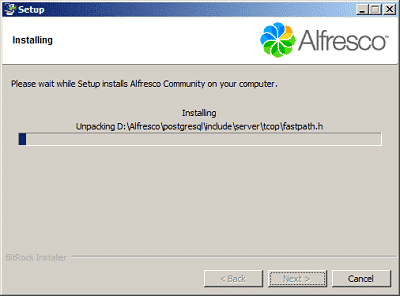
15. Alfresco installation process
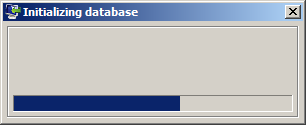
16. Database installation process
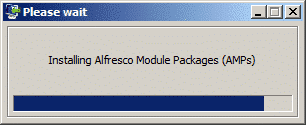
17. Alfresco module Installation Process
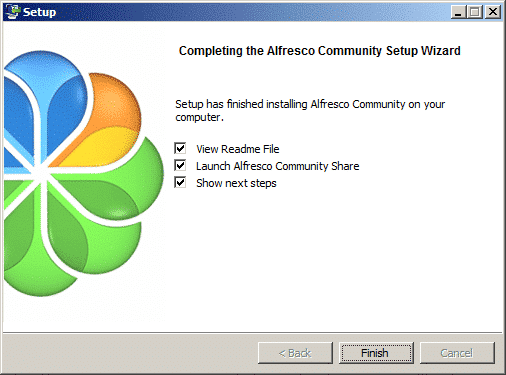
18. Alfresco installation has been completed
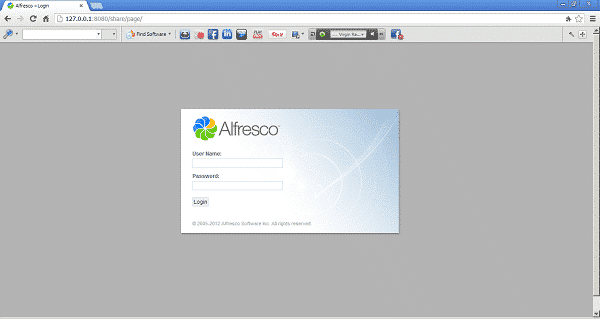
19. After that it leads directly to the browser application
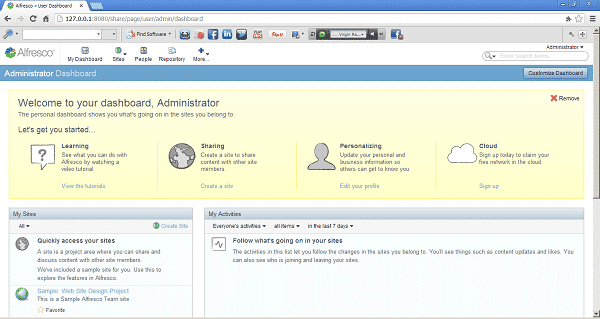
Enter the username and password you created at installation stage Alfresco
Username is admin
Password according to the time of the installation alfresco
Then click login
20. Alfresco display in the browser
For alfresco installation process on Linux and Windows are the same.
Here's a screenshot of the installation process on Windows Alfresco 4.2 b:
1. Language selection
2. Alfresco Community Setup
3. Installation type Chose Advance-Configures server ports and services properties
4. Select the application
5. Select where to save the patch to be installed alfresco folder
6. Enter port for the database server
7. Enter the IP address and port for tomcat The example below is the ip address for localhost
8. Enter port for the FTP server
9. Enter port for remote commands

10. Enter the password for the application Alfresco

11. Enter port for SharePoint
12. Enter port for LibreOffice
13. Select the type of configuration to the startup tomcat and database
14. Preparation for installation of Alfresco
15. Alfresco installation process
16. Database installation process
17. Alfresco module Installation Process
18. Alfresco installation has been completed
19. After that it leads directly to the browser application
Enter the username and password you created at installation stage Alfresco
Username is admin
Password according to the time of the installation alfresco
Then click login
20. Alfresco display in the browser